Guides
Turn paper photos into a document you can check.
Choose a guide for page corners, readability or a PDF size limit. Work from a clear original photo and check every saved page; automatic detection and cleanup cannot recover missing text.
Try an exampleMake the paper edges the page edges
Photograph the whole sheet against a contrasting background. Check all four suggested corners and move any that fall inside the text or outside the paper. A correct crop removes the table around the page without cutting off a line.
Keep faint marks readable
Compare the original with the cleaned preview, especially light pencil notes, stamps and fine lines. If black-and-white cleanup loses detail, use a gentler or colour treatment. Retake a blurred photo instead of expecting a stronger filter to repair it.
Balance the size limit with legibility
Enter the portal’s real byte limit and create the PDF. Read the achieved size and status before downloading. If the target is missed or fine text becomes unreadable, change the permitted settings or retake the source; a small unreadable file is not a useful result.
Check the downloaded copy
- Reopen the PDF and check page count, order, corners and the smallest text.
- Check the actual byte size. The PDF holds pictures of the pages, not text you can search or copy.
- Keep the original files until you have checked the downloaded copy.
Practice without personal files
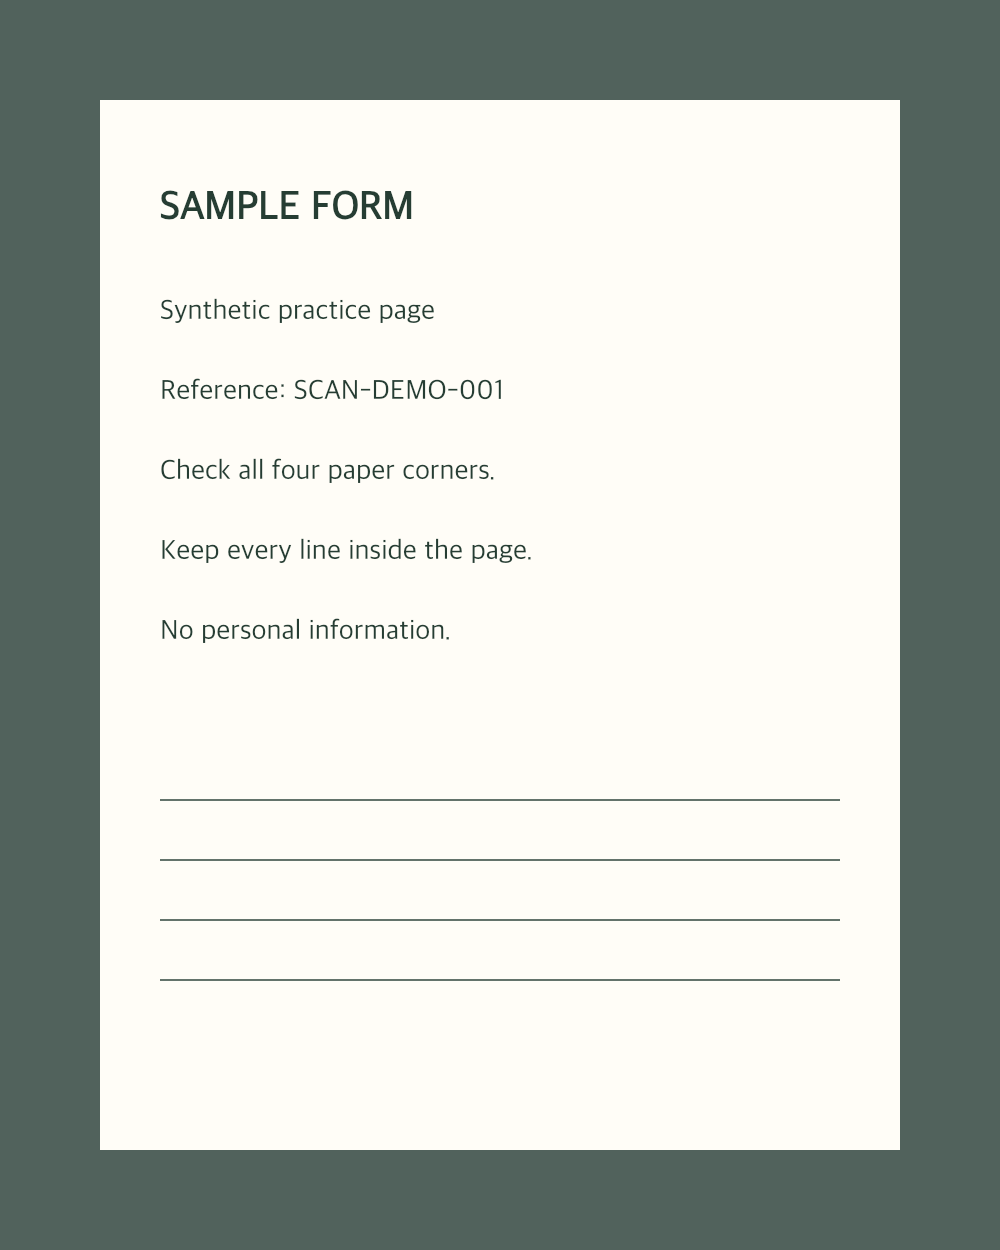
Open the sample paper image, check that the four corners follow the cream sheet and save one A4 PDF page. Reopen it and confirm that the dark background is gone and every sample line remains readable. This illustration practises the workflow; real camera photos can need manual corner correction.
The practice files contain synthetic examples. Their text is in English.
Open the practice guide